Have you ever made a Bonsai rootstand? Until a year ago, I had no experience with it either!
With some creativity, exercise and patience the results will get better and better. This article will explain the basic steps involved, with many images to describe the process of creating a rootstand. Enjoy reading.
So what is a Bonsai rootstand exactly?
A rootstand (or Ne taku in Japanese) is a free form Bonsai stand with perforations around the side. These stands come in various sizes, colors and shapes. Stands like these are carved out of a massive block of wood and can range in height from one centimeter to a meter. The shapes depend on the creativity of the artist.
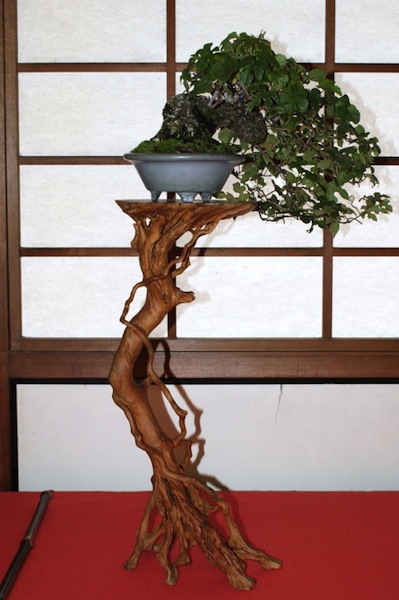
Rootstands look absolutely delightful when used with a cascade or semi-cascade tree. Even relatively small root stands can be very expensive; you get what you pay for, and old, large, high quality root stands command eye watering prices.. Prices depend mostly on the carving quality.
The process of creating a rootstand explained
It all starts with a nice piece of wood. I used a trunk of a chestnut, but you can also use a wood block. I had to dry it for one year before I could use it. When I use a trunk, I try to use the accents of that trunk, for example when there were branches on the trunk use these in your composition.
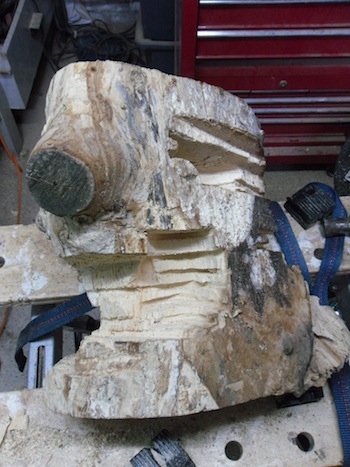

The top and bottom have to be right above each other, if not, the stand will have no stability.


If you make more holes, the roots will have a finer look, like a spider web.
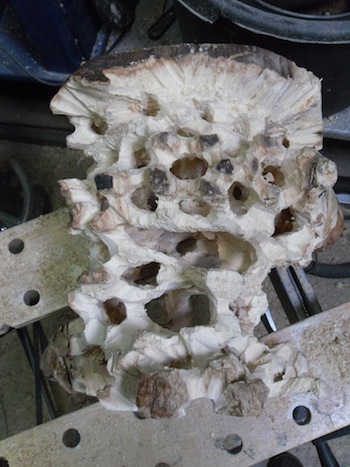

But be careful using this drill, because when you drill to far, it can influence the stability of the stand.


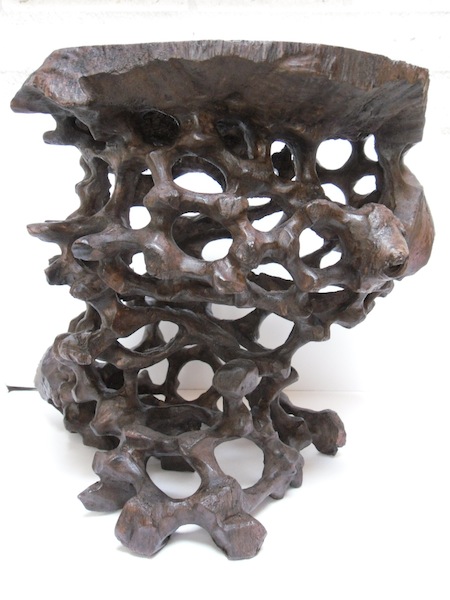
After rasping and sanding, the stand will be dark oak colored
I Always use water stain in different colors. First try them on another piece of wood before using it on your stand, so you are sure it is the tint you want. And last but least, I wax the stand. Every time you wax your stand the color will become deeper. I am using furniturewax because scratches and spots can be removed easily. When wood has a beautiful grain and color you can also rub it with Oil.
It took about 40 hours to create this bonsai stand, so if you see prices of stands like this, do not be surprised they are expensive.

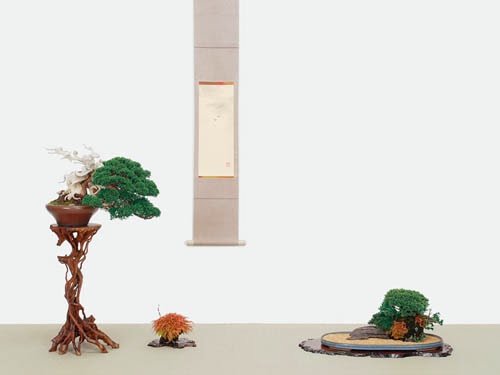
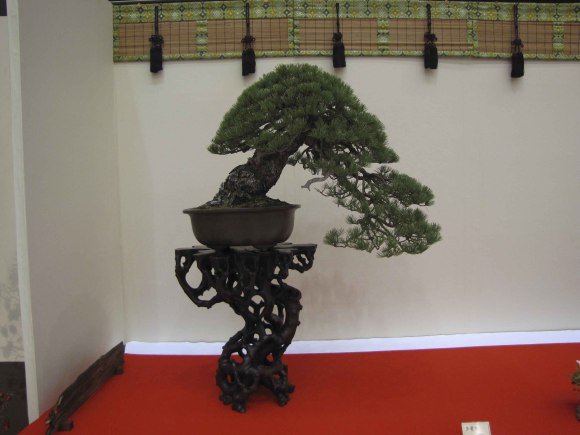
Some examples of Bonsai displays with rootstands


Written by: Ron Hermeling - Ron lives in Huissen in the Netherlands. Profession: the last 2 years gardener, before that time I had a fish shop. Hobby s: Bonsai. painting, drawing and creating and making Bonsai stands.